Creating a github action to deploy a Gatsby blog automatically
Prerequisites
- AWS account
- S3 bucket setup
1. Create a gatsby site
Create a Gatsby site using the Gatsby cli:
yarn global add  gatsby-cli
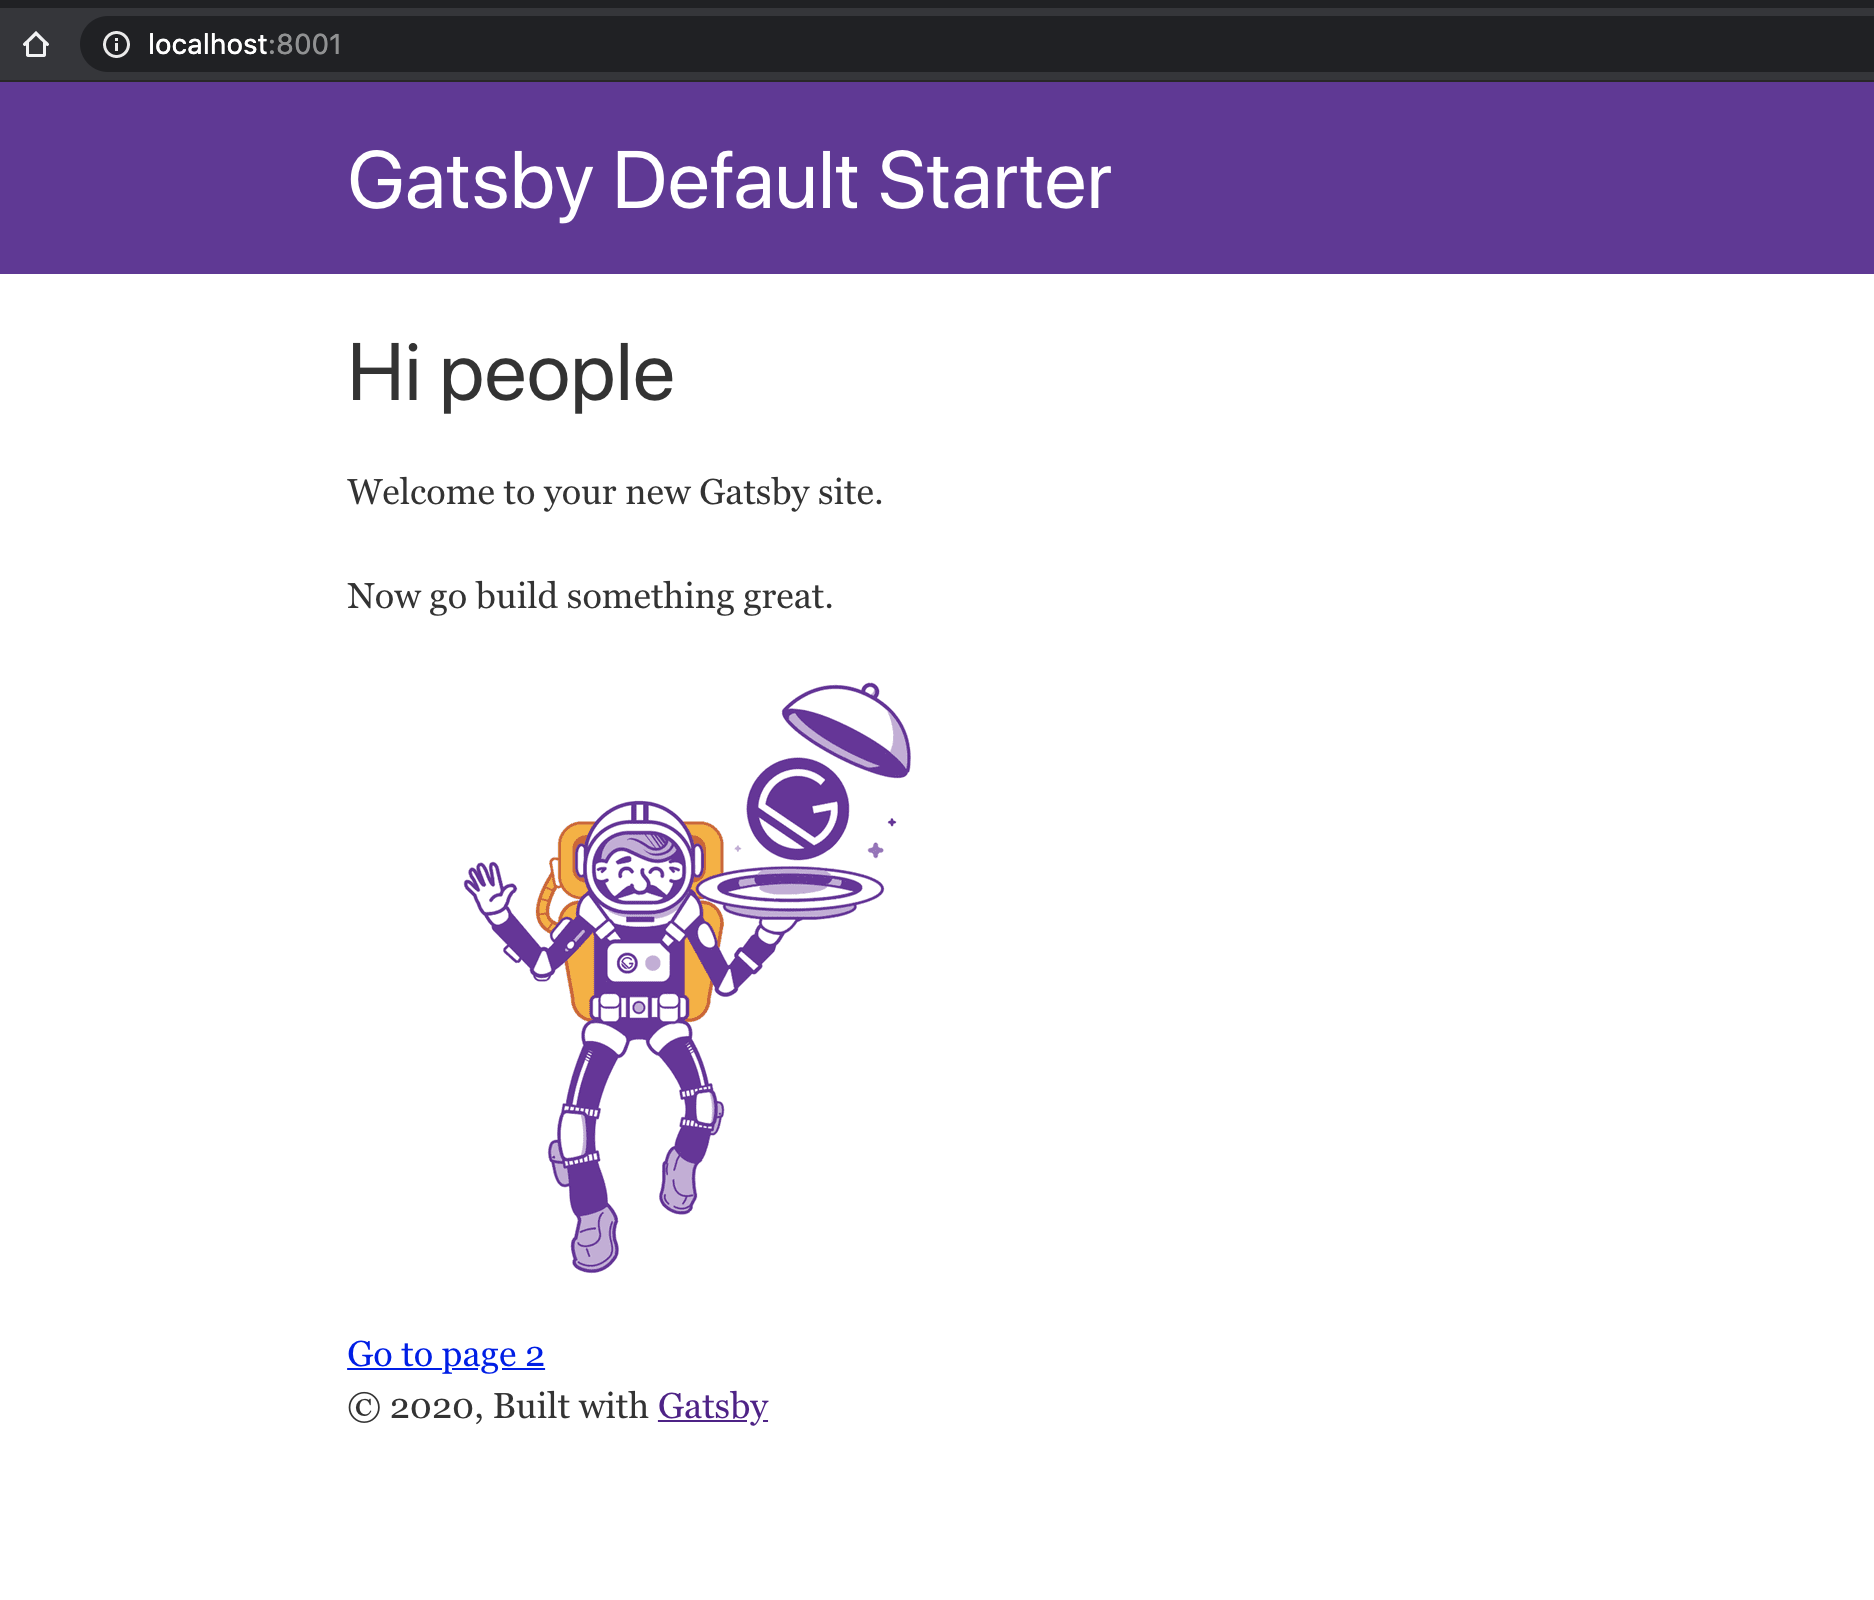
gatsby new gatsby-site
Create a Github repository and push your changes:
git init
git add .
git commit -m "First commit"
git remote add origin <your repository url>
git push -u origin master
2. Create action to build
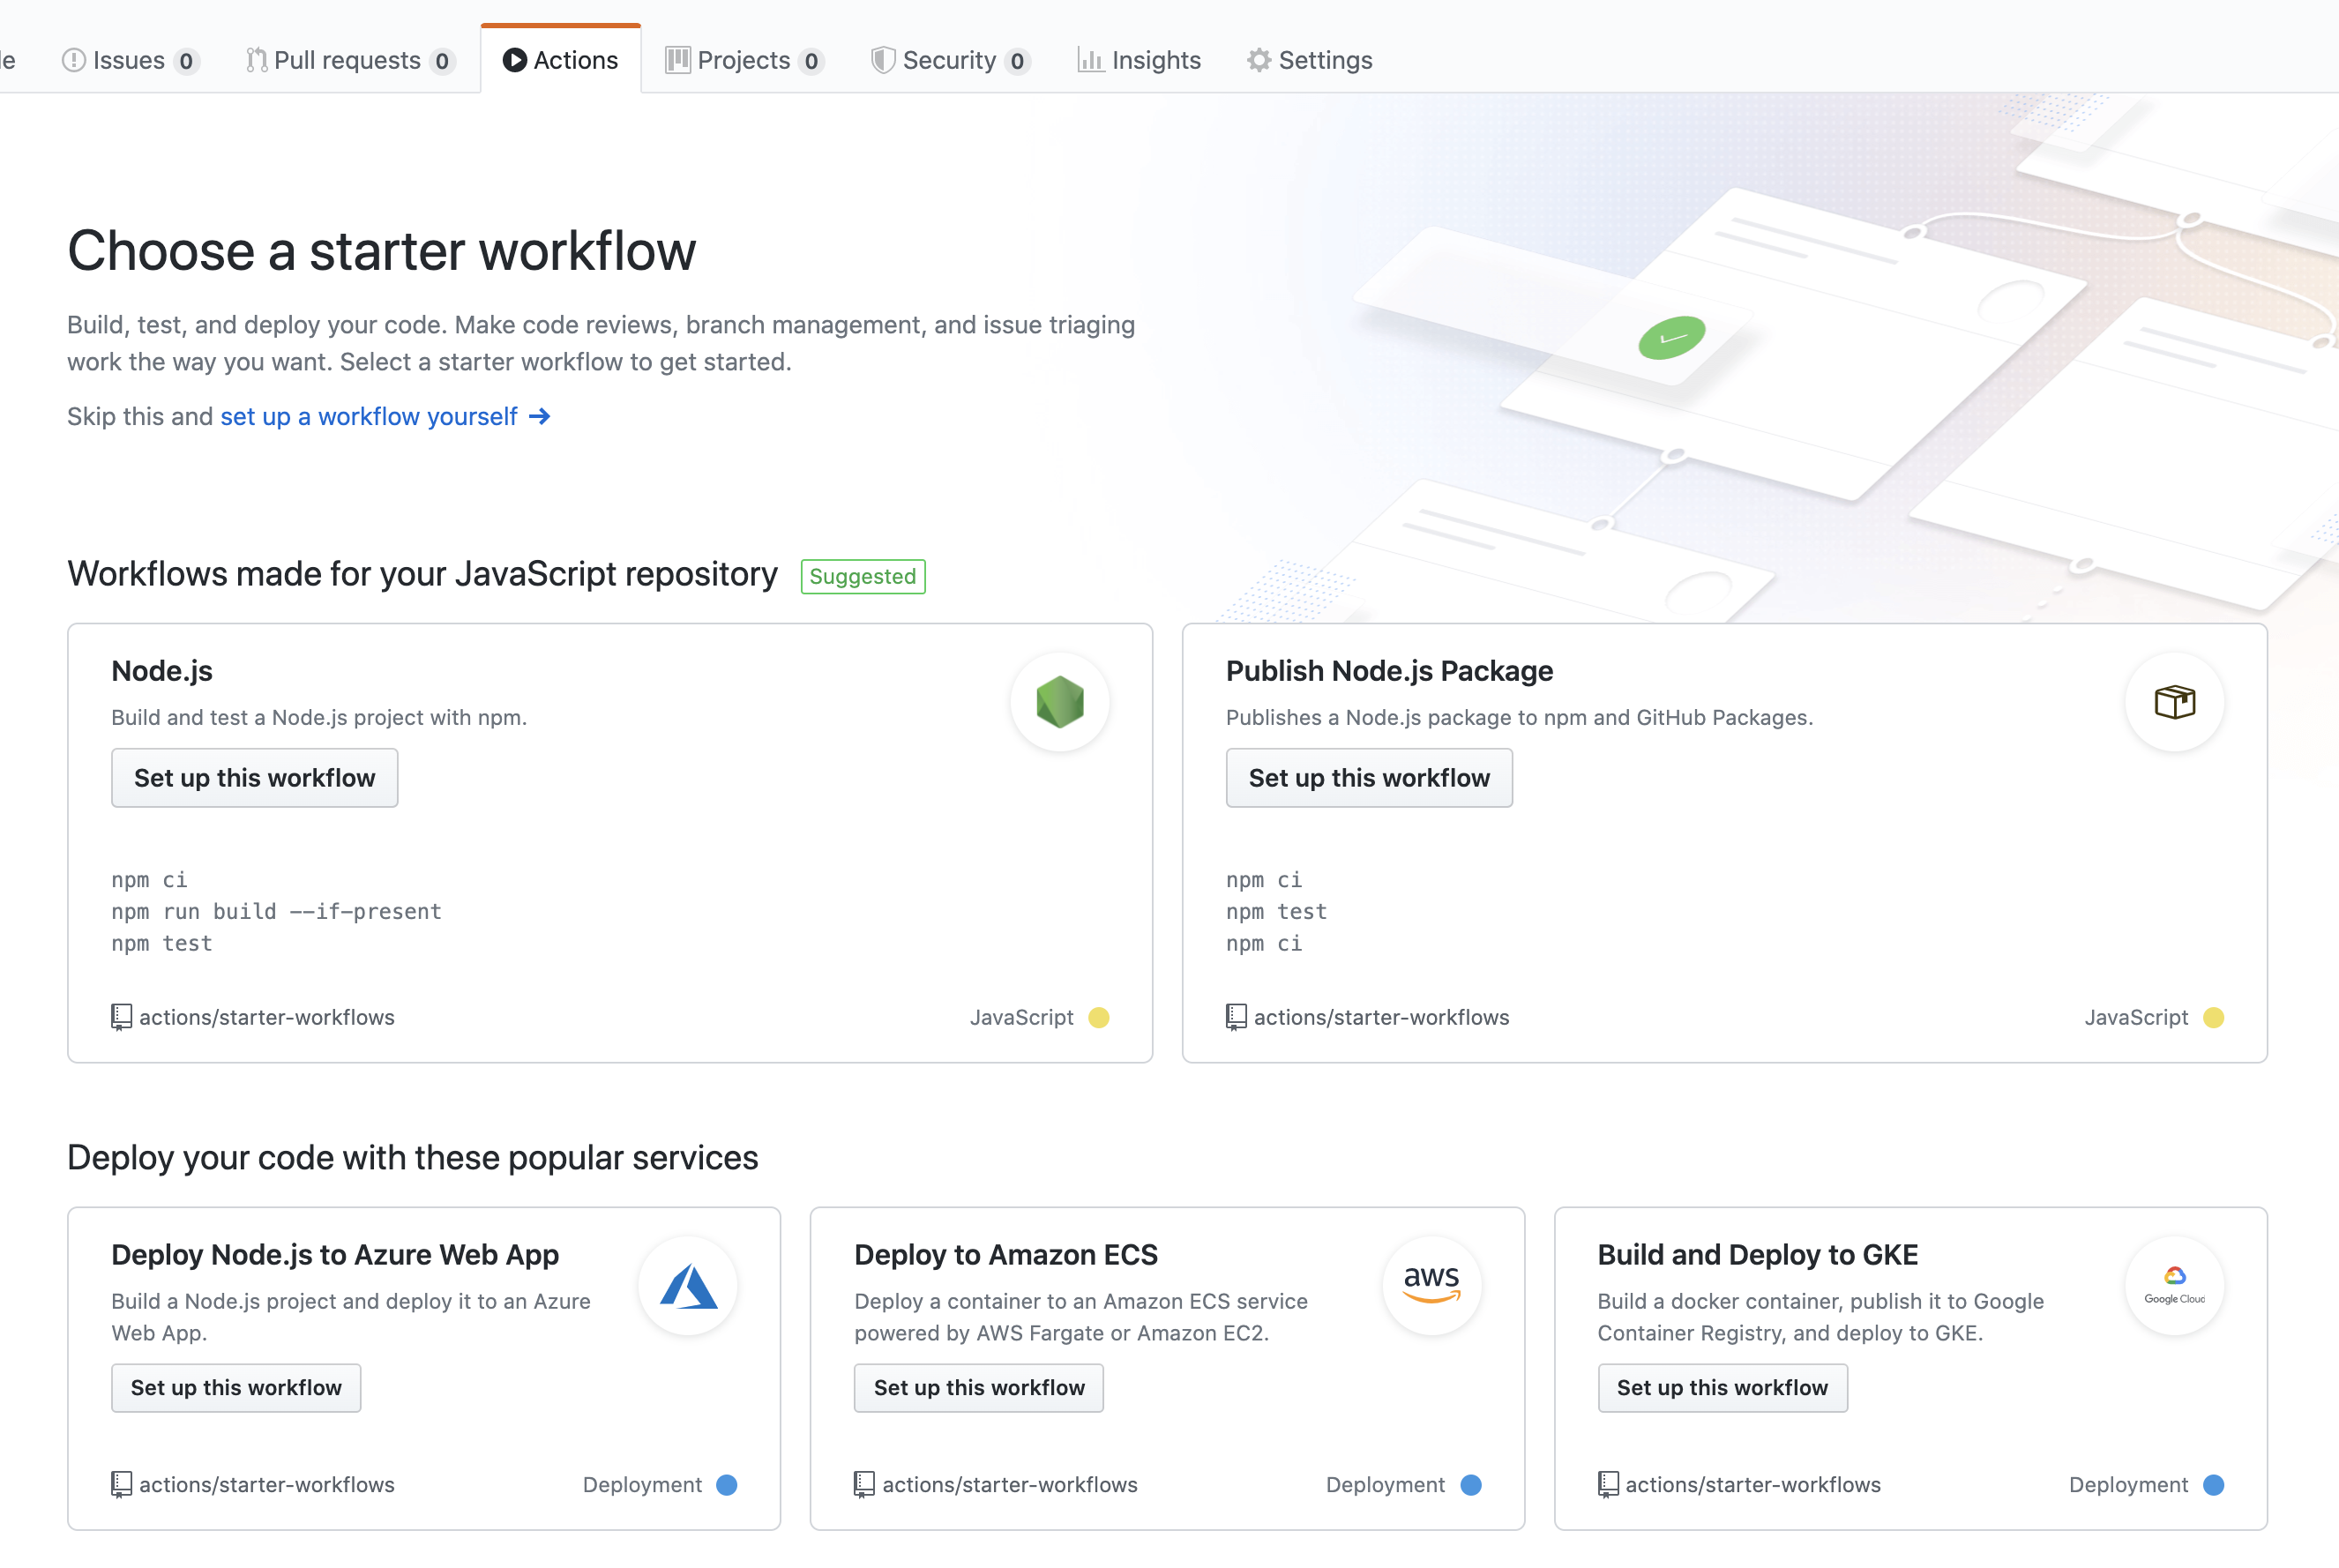
Go to actions tab on Github in your repository. Github will recognise that your project is using javascript and it will suggest using the node workflow.

Select Node.js worklow and click "Start Commit" to include this workflow in your repository.
If you can't find it, you can create .github/workflows/node.js.yml file and copy this template to it.
Go to actions tab and you will see that it start running the action. Github will install the dependencies and build the project.
3. Create IAM User
If you don't have an existing AWS user to use in CLI, follow these steps to create one.
- Go to AWS IAM and click "create user"
- Set a user name, check "programmatic access" and click next
- Select "Attach existing policies directly"
- Search for S3 and select "AmazonS3FullAccess"
- Click next and done.
You have created new user for programmatic access with only S3 admin access.
4. Add secrets to Github
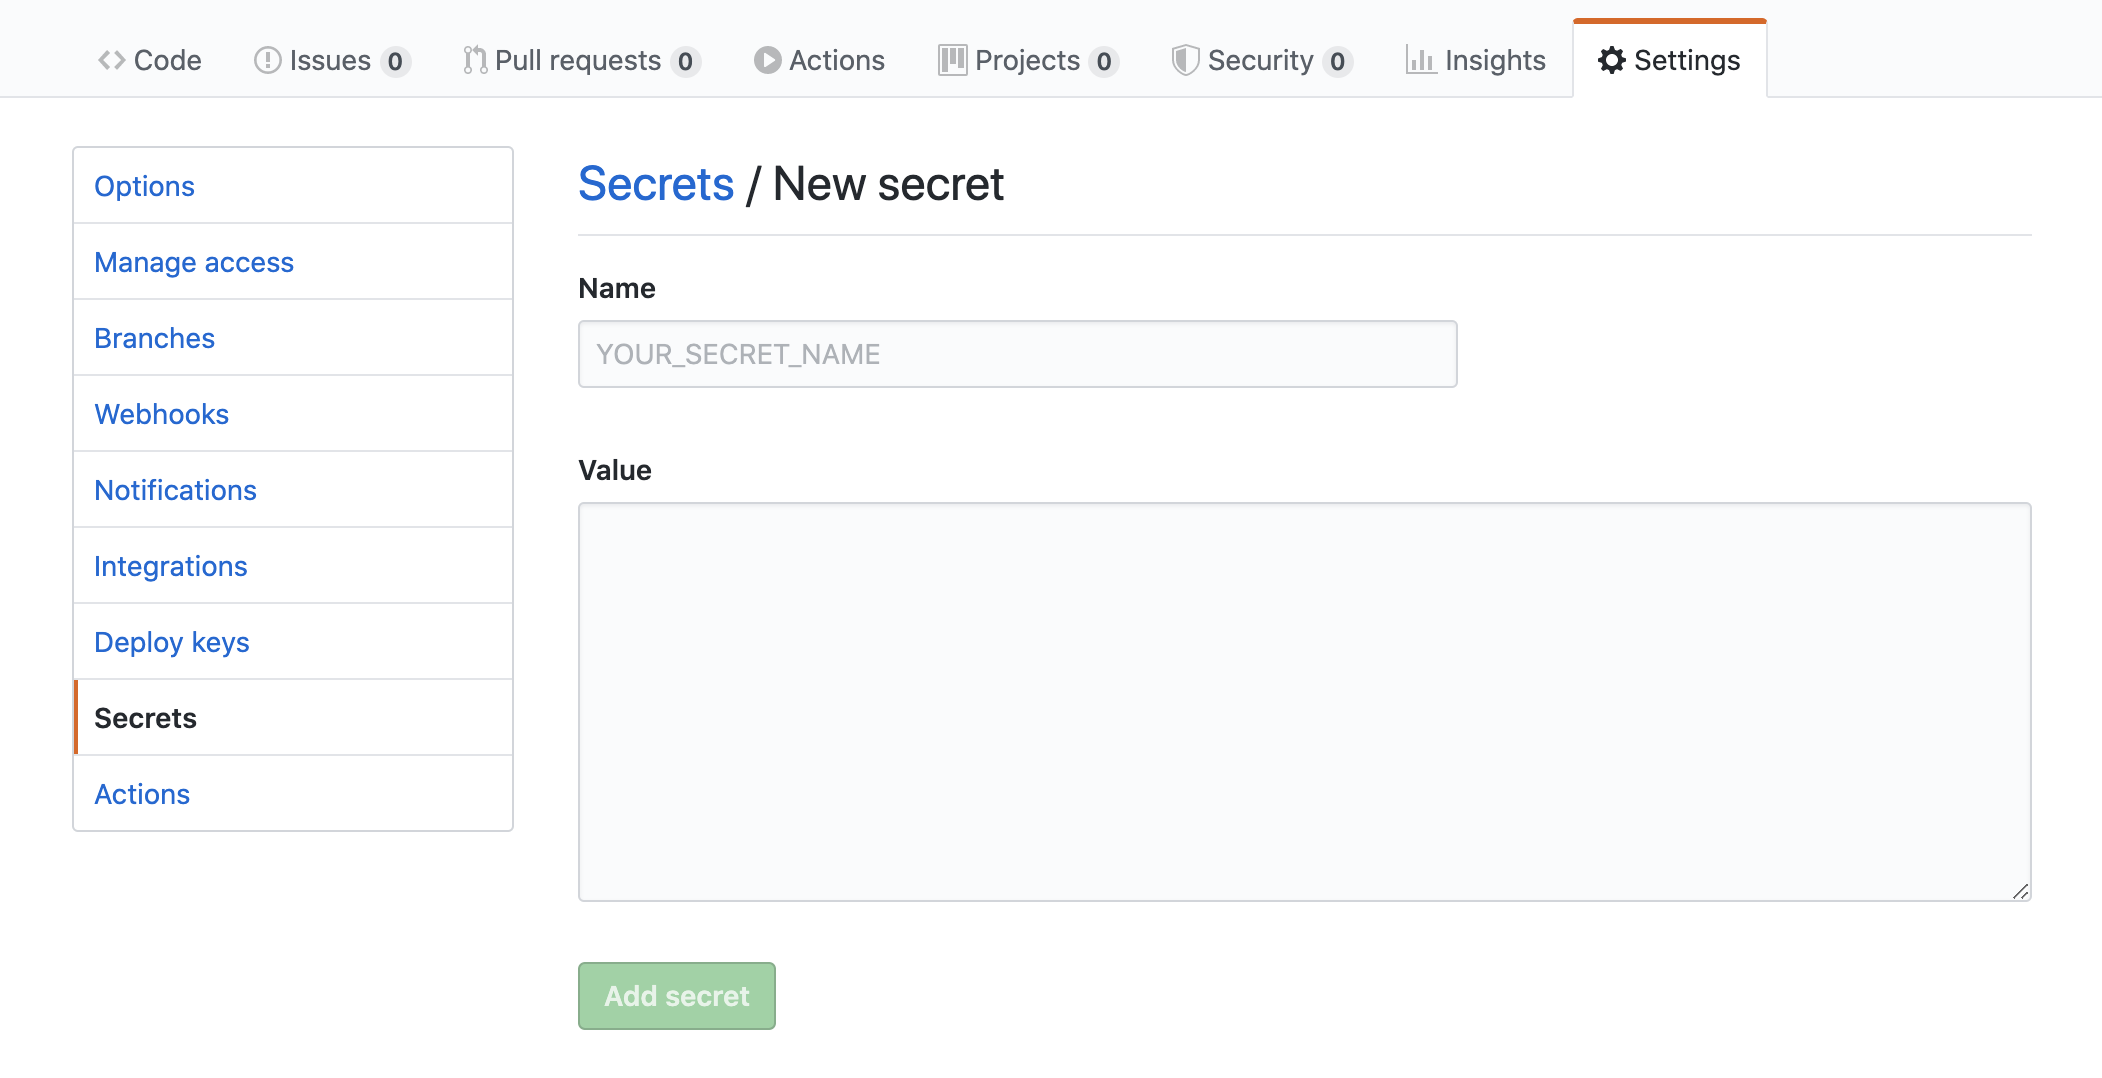
Go to the repository and click settings and then secrets.

Create AWS_ACCESS_KEY_ID and AWS_SECRET_ACCESS_KEY secrets using the values from AWS.
5. Deploy on push or merge to master automatically
First you need to install gatsby-plugin-s3 plugin.
npm install --dev gatsby-plugin-s3Include your s3 bucket name in the config. If you don't have an S3 bucket setup, you can follow this guide on AWS to create one.
// gatsby-config.js
plugins: [
  {
      resolve: `gatsby-plugin-s3`,
      options: {
          bucketName: 'my-website-bucket'
      },
  },
]
Include deploy command in package.json. We will use this to deploy on Github.
// package.json
"scripts": {
    ...
    "deploy": "gatsby-plugin-s3 deploy --yes"
}
Add a run task for deployment passing AWS secrets:
// node.js.yml
    ...
    - run: AWS_ACCESS_KEY_ID=$ AWS_SECRET_ACCESS_KEY=$ npm run deploy
All done! Each time you push a commit to master or merge to master, github action will trigger. It will build and deploy changes.

If you are working on a blog post over couple of days and you want to push your changes but you don't want to deploy, create a branch and merge it when you are ready. It will deploy automatically when you merge.
← Back home